When packing for a relocation, the kitchen is often one of the areas in the home that presents the most challenges.
Pans, pots, plates, bowls, and other oddly-shaped, fragile kitchen items — where do you even start packing your kitchen?
Let’s say you even have it all figured out about which part of the kitchen to pack first for the move. You still have to remember you’re dealing with an area with the most fragile items.
Knowing how to pack kitchen for moving is a skill. How you pack determines not only your ease of relocation but also the safety of your items and how easy it is to unpack.
For the best packing experience, let’s run through the complete know-it-all guide on relocating a kitchen.
Pre-Packing Preparation
In this phase, your goal is simple: discover those items in your kitchen that take up a lot of space but aren’t useful and know what you need to get for an easier move.
Inventory check
Before you begin sorting or fondling boxes, you need to have a clear picture of the exact number of things in your kitchen.
Think of it more like taking stocks or even conducting a census of your kitchen items.
Once you have a complete head count or thorough view of your possessions, you need to sort each one into different categories—keep, donate, sell, discard.
Gathering supplies
Do you have your “keep” items ready for the move?
All that’s needed now is to get all the necessary supplies to aid this move process, based on how much is left in your kitchen.
However, here’s a list of supplies you need to make packing your kitchen easy.
- Boxes (different sizes)
- Packing paper, unprinted newspaper
- Plastic wrap, bubble wrap
- Dish towels
- Packing tape
- Sealable plastic bags
- Box dividers, cell kits
- Rubber band
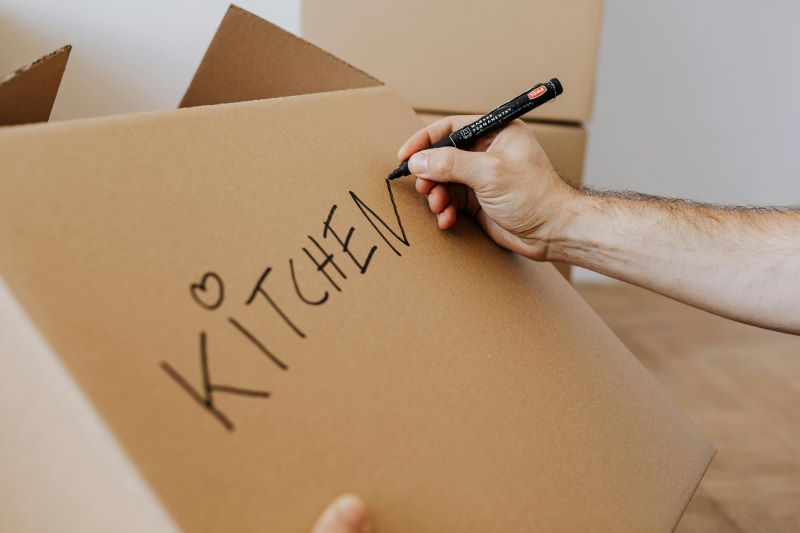
- Markers, stickers
Packing Non-Fragile Items
Knowing how to pack kitchen items that aren’t exactly easy to break is probably the least stressful part of kitchen packing.
However, you must go about it carefully and in an organized fashion to prevent damage.
Pots and pans
- Wrap each pot or pan with packing paper or unprinted newspaper on its inside thoroughly, just like you did with plates.
- To conserve space, consider placing small pots or pans into each one.
- Repeat the wrapping process with packing paper for every new pot or pan you nestle into the other.
- Pot lids and pan covers should be wrapped with packing paper and turned upside-down inside the pot.
- If there’s not enough room to place the lids and covers, place them side-by-side inside similar boxes with the pots or pans.
Note:
Never place pots and pans inside the same box as plates and bowls — even though they might be made of solid material.
Utensils and cutlery
- Wrap flatware like trays with plastic paper, end-to-end, and place flat into a box.
- Eating forks and spoons should be packed together and bound as one with a band in groups and according to size.
- Place the bound forks and spoons of different sizes into boxes similar to the flatware.
- For knives, roll each one in a full sheet of packing paper until completely covered.
- Then, use a dish towel to wrap the knife, especially its sharp ends, and secure all the wrapping with a band.
Note:
Never pack knives or pointy forks facing up; always place them on their sides.
Packing Fragile Items
Learning how to pack kitchen items for moving like these requires caution. These items break easily and are susceptible to quick damage when rough-handled or packed wrongly.
Here’s how to pack fragile kitchen items for moving:
Glassware and cups
- You want to get your box dividers or cell kits and place them into the boxes you intend to use.
- Then, take each glassware or cup and place packing paper inside each.
- Using bubble wrap, cover each glassware and cup thoroughly for extra padded protection.
- For cups with stems, ensure that the handles are wrapped with packing paper or bubble wrap to protect them.
- Then, each glassware and cup should be placed in the specific room inside the box created by the dividers.
- Ensure there’s no wiggle room for each glassware or cup. If there is, add bubble wrap or packing paper into the space to prevent movement during transport.
- Cover and seal the box, and use a marker to label “Fragile” on the box or a sticker with “This Side Up.”
Note:
Never place anything heavy on the box holding these items, and don’t stack other glassware or cups on top of them while in the box.
Plates, bowls, ceramics, and China
- Start by flattening a sheet of packing paper or bubble wrap on a table or countertop.
- Place the plate or ware at the center of it and wrap it from the outside inward into the ceramic or Chinaware.
- Once wrapped, take a packing tape and secure the packing paper or bubble wrap to the inner parts of the ware.
- Place the packing paper on the inside for larger plates or ones with deep inner-like bowls. You will need multiple layers of wrap for this.
- Ensure the final wrapping is bubble wrap before placing it vertically into a box.
- Similarly sized wares should be stacked together in a safe manner. Smaller wares inside larger ones.
- Fill any empty spaces or wiggle room with packing paper or bubble wrap to prevent jostling during transport.
- Cover and seal the box with packing tape. Label “Fragile” or the contents with a marker on the box.
Small appliances
In this context, kitchen appliances regarded as “small” refer to ovens, toasters, coffee makers, blenders, grinders, juicers, and many others.
The way to pack them usually follows a similar pattern.
- Start by unplugging them from their sockets, followed by thorough cleaning.
- Detach all removable parts and pack them in sealable bags separately.
- Wrap the appliance with bubble wrap or packing paper, whichever is available, then place it into the original box.
- If the original box isn’t available, place it inside a snugly fit box with little wiggle room.
- Secure and cover the box with tape. Then, label “Fragile” or the content name on the box with a marker.
Packing Food Items
In the process of knowing how to pack kitchen for moving, you should move food items only when you absolutely have to.
It’s always best not to pack many food items when moving, especially perishable ones. But if you find yourself in such a situation, there’s a way out.
Dry goods
- Take stock of how much dry food you have. Also, check if anything has gone bad or rotten.
- Place open dry foods like rice, pasta, and flour in resealable plastic bags or containers.
- Spice and condiments should be secured tightly inside jars or bottles wrapped with plastic paper.
- Pack all items upright to prevent crushing or compression during transport.
- Group similar items together for better organization.
Perishables
- Check expiration dates and discard expired or near-expired perishables.
- Leave canned foods in their containers and wrap them to prevent rattling or dents while transporting.
- While placing cans in a box, you can stack them together. But only place larger and heavier ones below.
Pro Kitchen Packing Tips
- Have a moving day kit ready. It should contain essentials you will need while moving or immediately after arriving at your destination.
- Always place packing paper or bubble wrap at the bottom of the box before putting anything inside.
- Ensure the weight inside the box is evenly distributed throughout.
- Never pack non-perishable foods with perishable ones.
- Don’t overpack a box; know the right amount of items that should fit.
Endnote — How to Pack Kitchen for Moving
While anyone would admit that packing for any form of relocation can be a daunting experience, it is usually worth it if done properly.
Knowing how to pack kitchen for moving simply involves three significant steps: decluttering, sorting, and packing.
Remember: regardless of the quantity of your load, your packing experience should follow this pattern if you intend to make it easy.
Good luck!


